woodworking homemade shopmade craft
Homemade Mini Boombox
I bought eventually 6sets this unit, i.e. 100yen shop item Mini Amp at \300, I built a boombox previously, but at this time I decided to build a mini boombox using this unit. This mini type is more handy. °ĘÁ°¤Ë¤â
I cannot expect the good sound qualty, but it can be built using scraps only expect above \300 unit. It works on 4xUM-3 batteries, but also works connecting USB power.
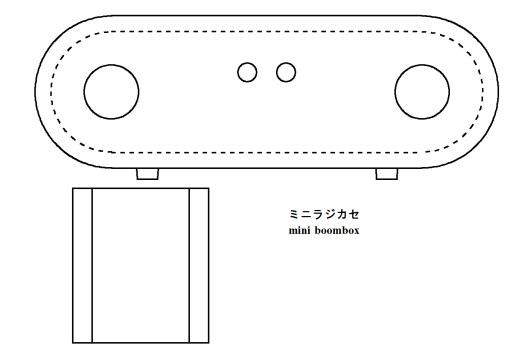
The following is the image dwg. to get image.
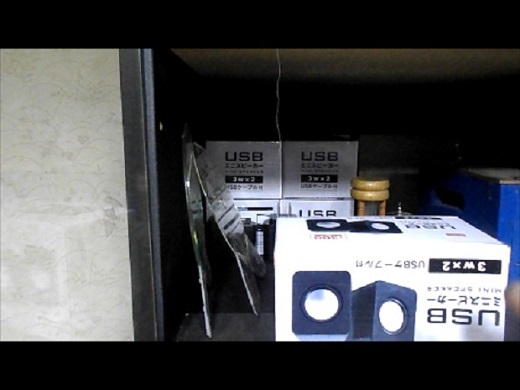
I took a unit from the stock of 5 units.
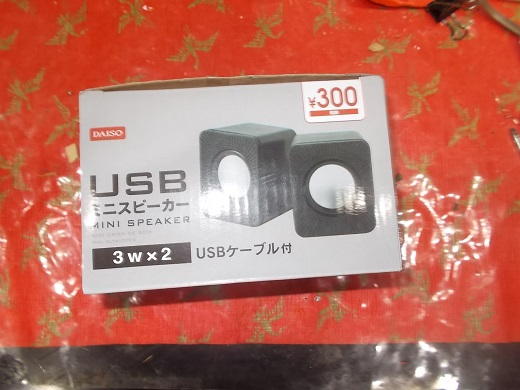
This unit is contained in this box. This is available at only \300! If I make same unit buying all thecomponents one by one, total cost ould be more than several thousand yens.
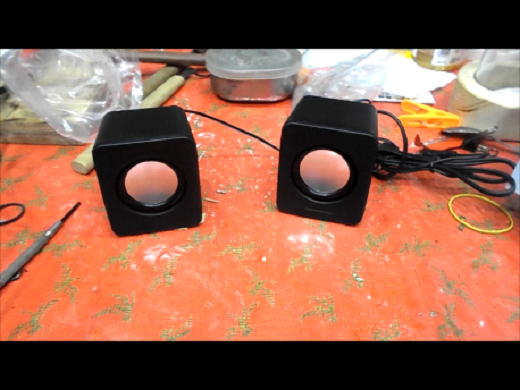
Took out from the box. 2 speakers are installed. 1 unit of the speaker costs usually several hundred or 1000 yen. This set has 2 speakers. If you want only speaker, you should buy this set.
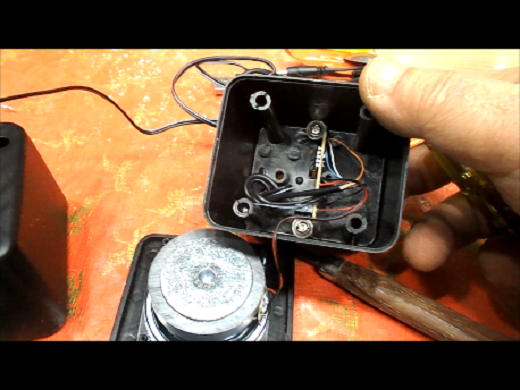
Opened the cabinet. Small amp is installed. Of cause it must be in there. Very small one as your finger nail.
Starting wood working. I cut pieces of 2x4 for the side part. I cut it to set the wood grain horizontally for the later processing.
Also cut a pc. of the scrap wood for upper and lower sides of the cabinet at the necessary width.
And cut in necessary length.
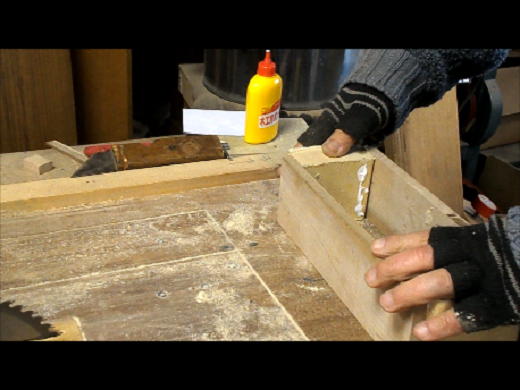
Assemble the pieces by glue.
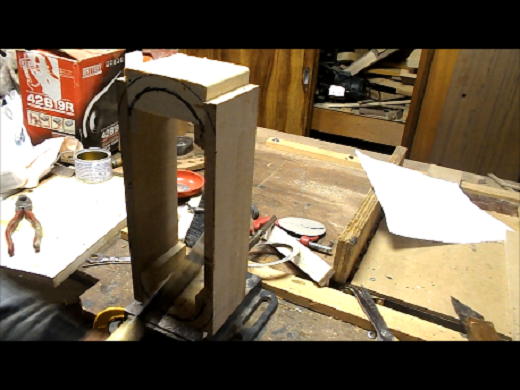
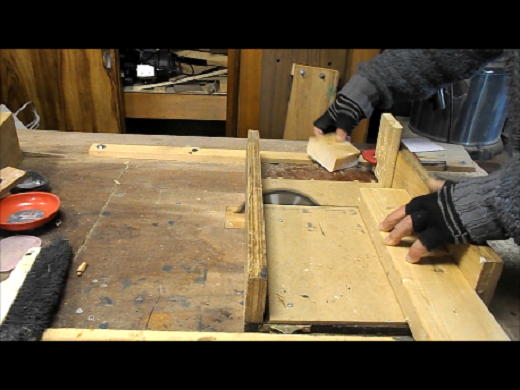
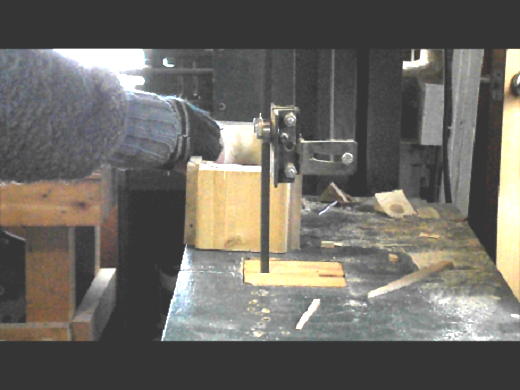
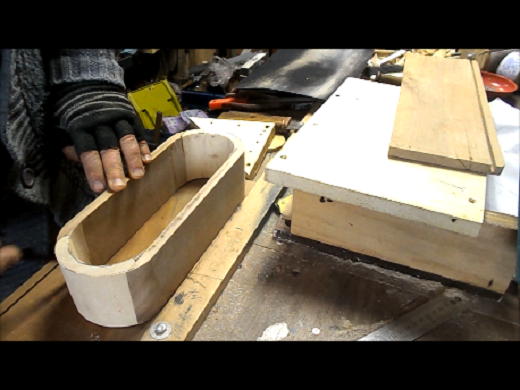
After the glue is dried, cut the inside in necessary depth to use a round chisel later.
Cutting off the inside of the cabinet by the round chisel. It is easy as the wood grain runs to help the chisel cutting.
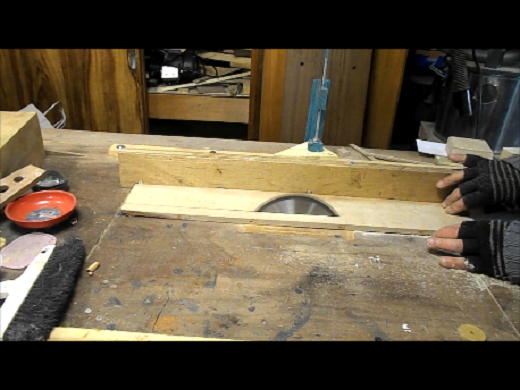
This is the rough shape of the inside.
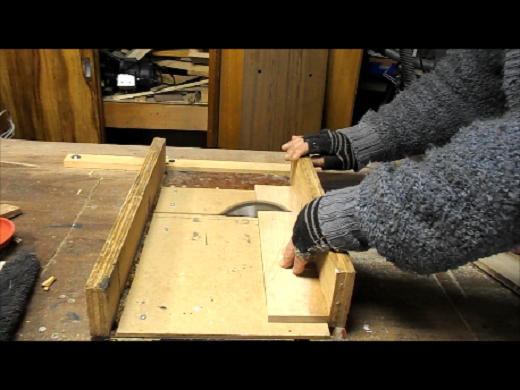
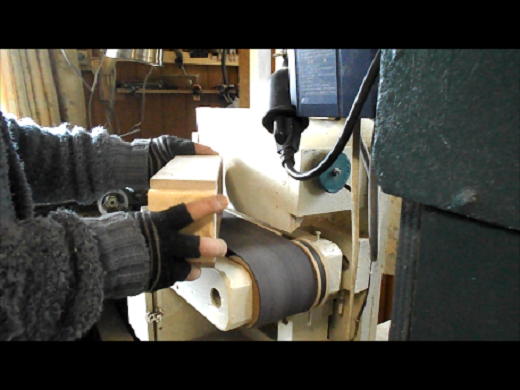
Finish the inside by the drum sander.
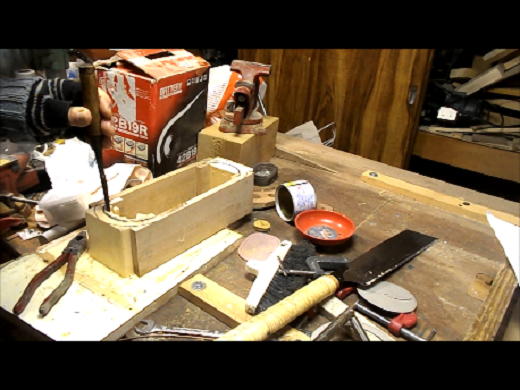
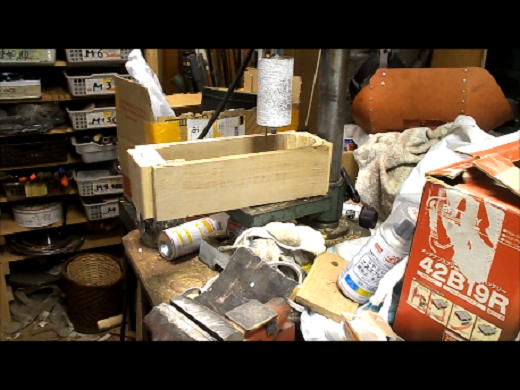
By the way, I feel much disappointed to see the mess in such picture. I always think to clean up the shop neatly, but it is too cold here in the winter season to spend long time for the cleaning. I always rush the wood working in the cold season, but it is not the good excuse, I know.
Rough cutting the outer shape by the bandsaw.
Finishing by the belt sander.
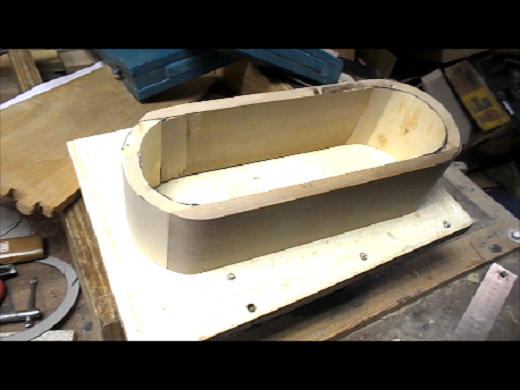
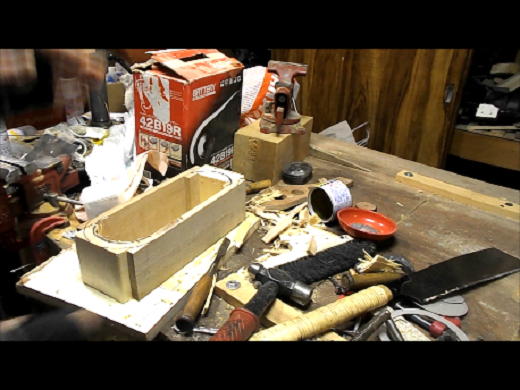
This is the completed cabinet side.
Next making the front panel and back panel.
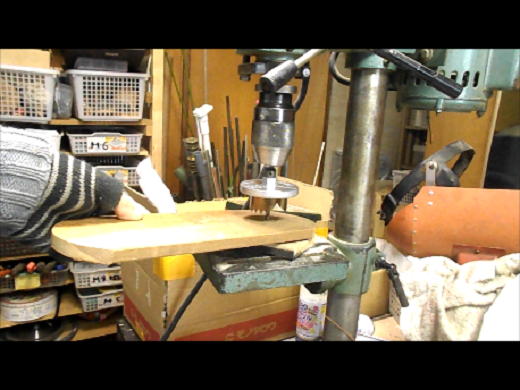
Making the speaker holes by the hole saw. Size is 45mm in diameter. Also the holes for the volume knob and power SW lever.
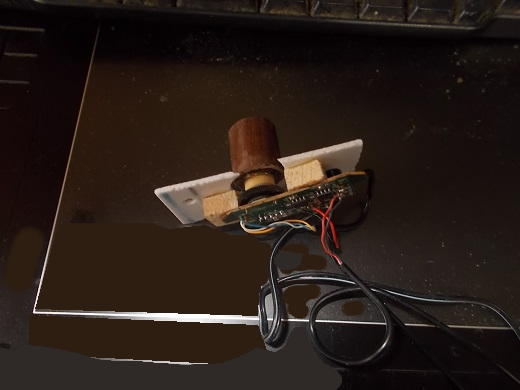
Amp PCB is too small and needs the support to install on the panel. Therefore, I made the support. I also glued the self made wooden VR knob.
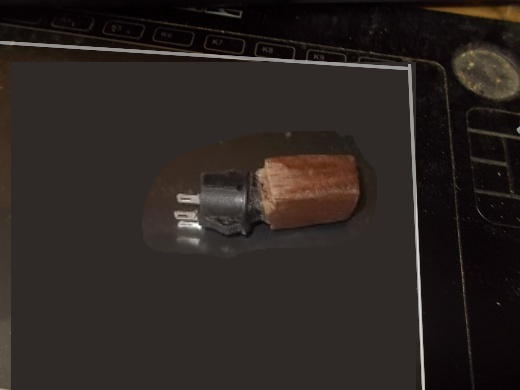
Original unit has no power switch, therefore I made this switch using a small wooden self made lever glued on the ready made small switch, as well as support to install on the panel.
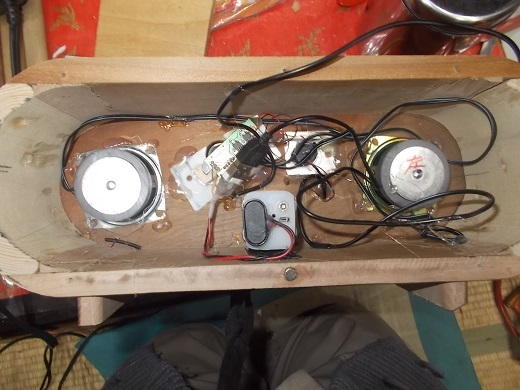
All the components are installed in the cabinet. I used the hot glue to fix the components, and,
Battery holder is fixed by the velcro tape in the cabinet, and accessible by removing a part of the back panel. Power cable can be connected to USB power sauce .
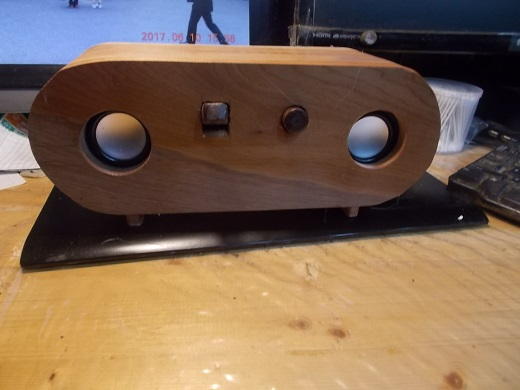
This is the completed unit. Finished by clear lacquer.
Anyway it works. But the sound quality is as you imagine, i.e. anyway it works.
Index
return to home